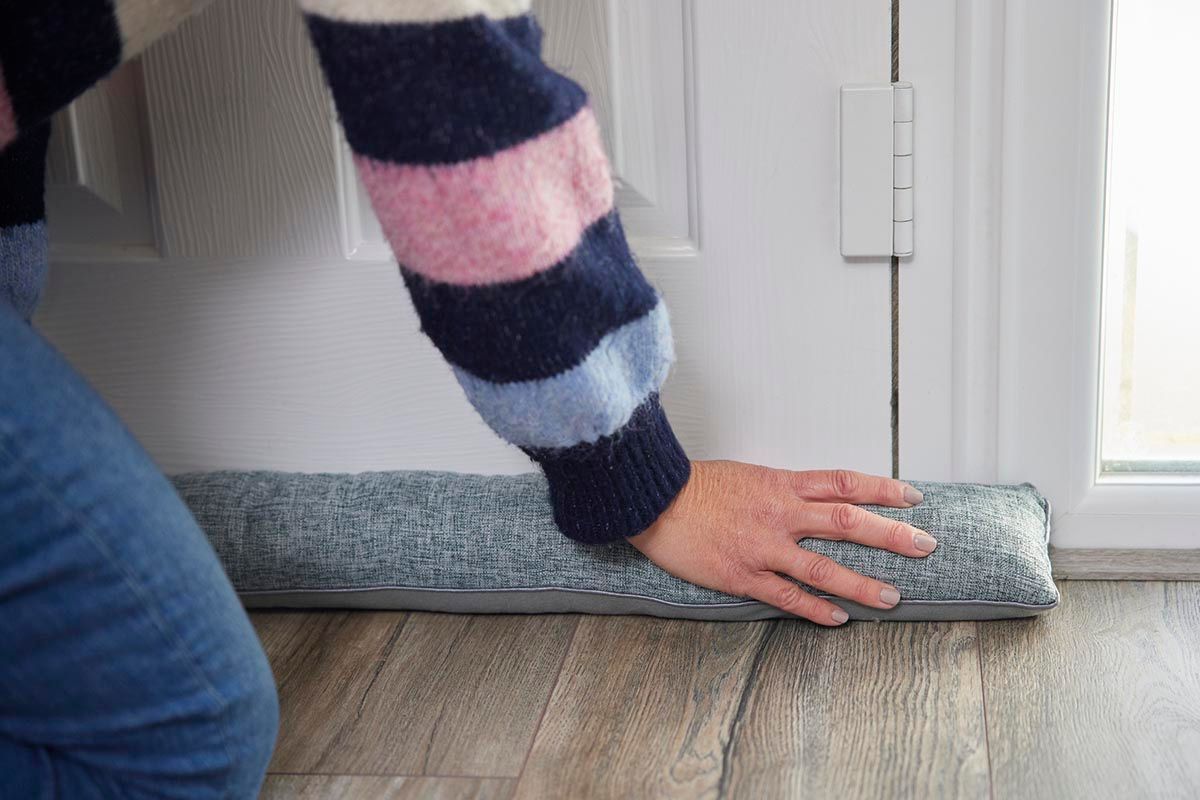
Draught-proofing a cavity sliding door is essential for maintaining energy efficiency, improving comfort, and reducing heating costs in your home. Corner cavity sliding doors, while stylish and space-saving, can often let in draughts due to gaps around their edges. We will guide you through the steps to draught-proof your cavity sliding door effectively.
1. Understanding the Issue
Cavity Sliding Doors: These doors slide into a cavity within the wall, which can create gaps around the door frame and between the door and wall. Draughts can enter through these gaps, leading to heat loss and increased energy bills.
2. Assessing the Problem
Before you start, you need to evaluate the extent of the draught problem:
- Identify Gaps: Check for any visible gaps or openings around the door frame.
- Feel for Draughts: Run your hand around the edges of the door to feel for cold air.
- Use a Draught Detector: If you have one, use a draught detector to pinpoint areas where air is entering.
3. Gather Your Tools and Materials
To draught-proof your cavity sliding door, you will need:
- Draught-proofing strips or seals (self-adhesive or brush-type)
- Door foam tape
- A sealant gun and silicone sealant (if needed)
- A screwdriver
- A utility knife
- Measuring tape
- A pencil
4. Prepare the Door and Frame
- Clean the Surfaces: Thoroughly clean the edges of the door and the frame where you will be applying the draught-proofing materials. Remove any old seals, dust, or debris. Ensure the surfaces are dry before proceeding.
- Inspect the Door Hardware: Check if any of the door hardware (like the rollers or handles) needs adjustment or maintenance. Sometimes, misalignment can exacerbate draught problems.
5. Install Draught-Proofing Strips
Self-Adhesive Draught-Proofing Strips:
- Measure and Cut: Measure the length of each side of the door frame where the draught-proofing strips will be applied. Cut the strips to fit these measurements.
- Apply the Strips: Peel off the backing of the self-adhesive strips and carefully stick them to the door frame. Start at the top and work your way down to ensure a smooth application. Press firmly to ensure a good seal.
- Check the Fit: Close the door to check if the draught-proofing strips fit snugly. The door should close with a firm seal, but not so tightly that it becomes difficult to operate.
Brush-Type Draught-Proofing Strips:
- Measure and Cut: Measure the length of each side of the door frame. Cut the brush-type strips to fit these measurements.
- Install the Brush Strips: Attach the brush strips to the door frame using screws or adhesive backing, depending on the type of strip you have. Ensure the brushes align with the gaps when the door is closed.
6. Seal the Gaps
- Check for Larger Gaps: If there are any large gaps between the door and the frame, use a sealant gun to apply silicone sealant. Fill in the gaps carefully and smooth the sealant with a damp cloth or your finger.
- Apply Door Foam Tape: For additional sealing, you can use door foam tape around the edges of the door. Measure and cut the foam tape to fit, then apply it around the door frame, pressing it into place.
7. Test the Seal
- Check for Draughts: After installing the draught-proofing strips and sealing gaps, close the door and run your hand around the edges to check for any remaining draughts.
- Adjust as Needed: If you still feel draughts, you may need to adjust the positioning of the draught-proofing strips or add more sealant.
8. Maintain the Draught-Proofing
- Regular Inspections: Periodically check the draught-proofing strips and seals for wear and tear. Replace or repair them as needed to maintain effectiveness.
- Keep the Area Clean: Ensure that the area around the door remains clean and free from dust or debris that could affect the performance of the draught-proofing materials.
9. Additional Tips
- Weather Conditions: Install draught-proofing materials in dry weather to ensure the adhesive sticks properly.
- Avoid Over-tightening: When applying draught-proofing strips, avoid over-tightening or compressing the door, which can cause operational issues.
- Professional Help: If the problem persists or if you’re unsure about the installation, consider consulting a professional for assistance. They can provide expert advice and ensure a perfect seal.
10. Benefits of Draught-Proofing
- Improved Energy Efficiency: Draught-proofing helps keep warm air inside and cold air outside, reducing heating costs.
- Increased Comfort: Eliminates cold spots and drafts, making your home more comfortable.
- Noise Reduction: Draught-proofing can also help reduce noise coming through the gaps around your door.
By following these steps, you can effectively draught-proof your cavity sliding door, enhancing your home’s energy efficiency and comfort. Regular maintenance and timely repairs will ensure that your draught-proofing remains effective over time.

